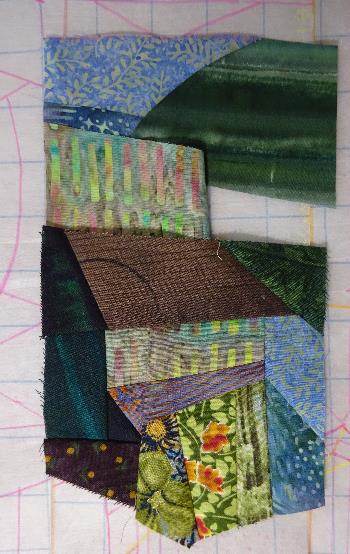


The segment above (where we left off) was put together using all straight lines - which is why buildings are easy to do. If you think of it, quilting has a history of house blocks, and to me buildings and architecture establish place. I've always been thrilled when someone walks up to one of my quilts to ask if it's a specific place (such as St. Moritz) - especially when they're right. On the other hand, I had a French woman ask me if one of my quilts was of my home in Oregon - but the quilt was titled Palm Trees in Switzerland. Oh well; it was my first! (...and we do have mountains...)
In this entry I'll be showing simple, or what I call soft curves , which are a step more challenging. Curved lines are important to soften the tone, and I felt they were especially important in a musical themed quilt. Curves are also important to represent organic elements such as sky and vegetation.
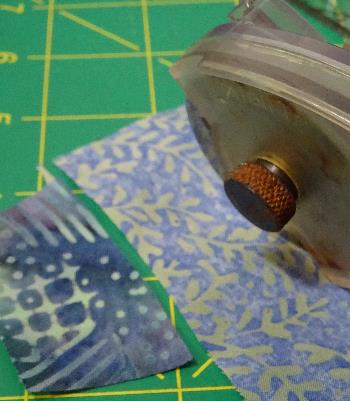
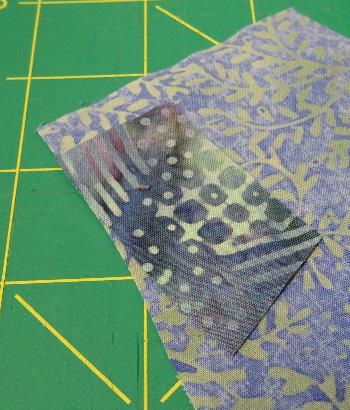
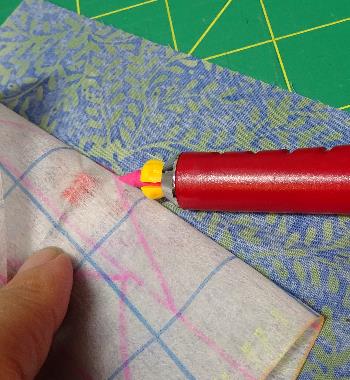
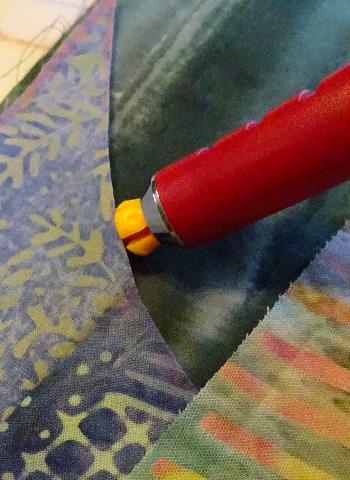
With soft curves, you can easily cut a matching arc by laying both fabrics, right sides up, with one overlapping the other along the edge to be sewn.

Using a rotary cutter, slice thru both pieces along the curve.
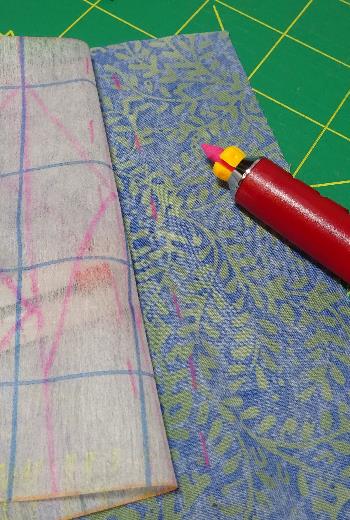
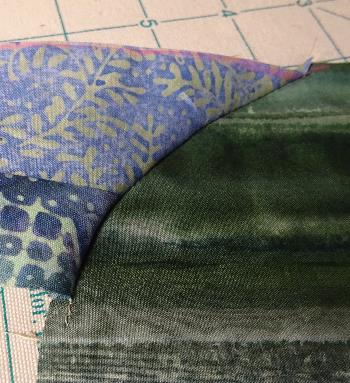
This is such a minimal curve it is almost impossible to see at first, but when trying to line up to sew, you can see how they splay in opposite directions.
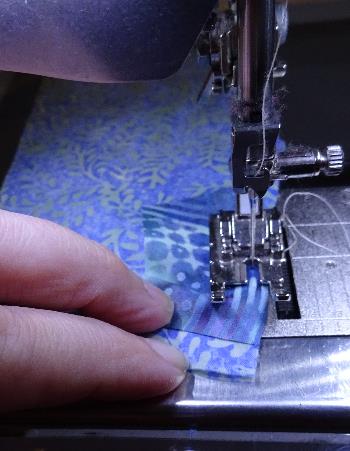
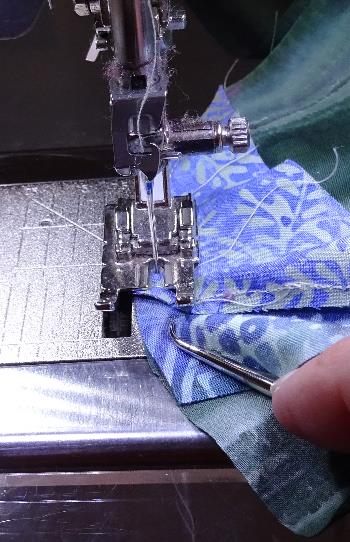
Sewing these curves is easier than you think - and you'll notice I'm not using pins. The trick is to start at the top of the curve (around the middle in this case) and use a 1/8" seam. The inside of the toe on any BERNINA quarter inch foot (#37/57/97) is 1/8" from center needle position.
As I'm sewing in the next photo, I am pulling the bottom fabric leftward - ever so gently - in order to match the edges as I am stitching from middle to end.
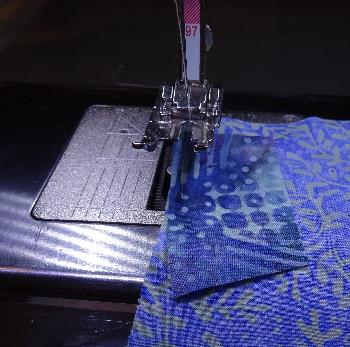
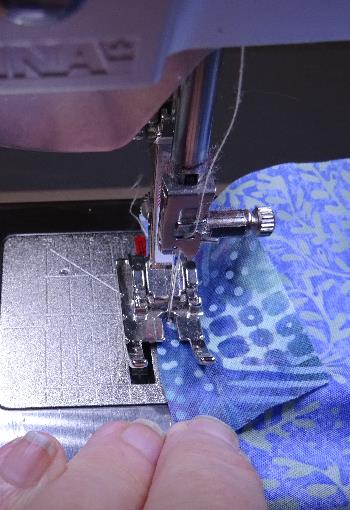
Then I turn the piece around, starting again at the top of the curve, this time using the eighth inch mark on the left side of the foot. On the #97 foot this is the etched mark on the left side (for #37/57 it is the inside of the toe again). You could flip the work over (working from the opposite side) so that you can align with the right toe again, but I find it easier to keep the smaller piece always on top.
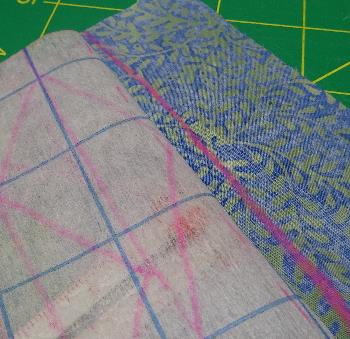
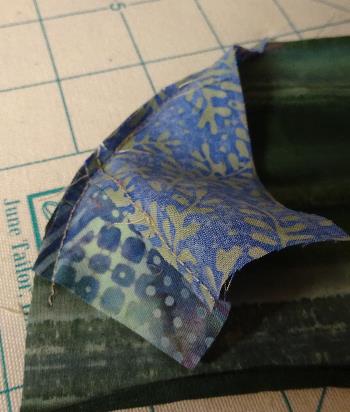
You can see how the curve puckers when stitched.
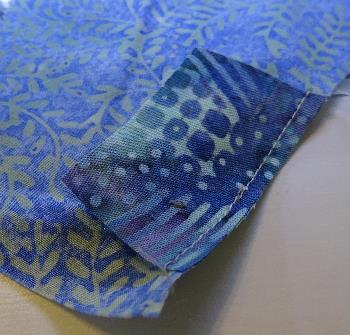
It is necessary to clip the seams (without cutting into the stitch) so the pieces can ease flat. Once nicely pressed this section is ready to be marked for the next shapes.
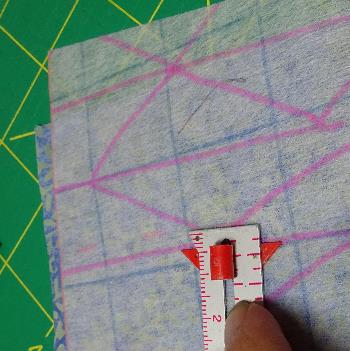
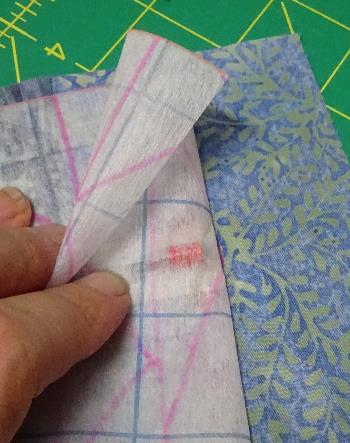
Keeping in mind I use eighth inch seams on curves, I'm using a traditionsl seam guide to help measure the next cut line. Putting it in place and folding the Tru-Grid template back, I'm marking using a Bohin chalk pencil.
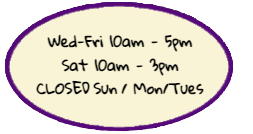
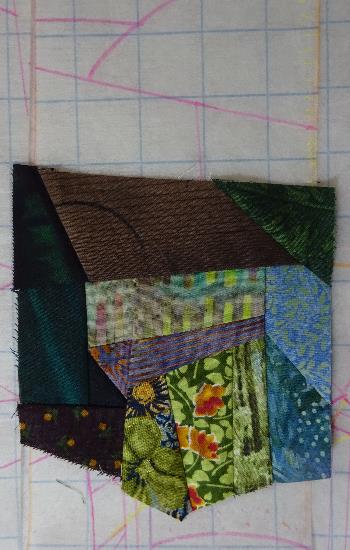
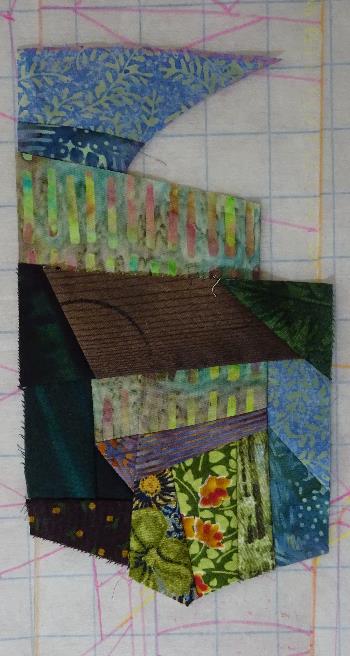
You are here once this segment has been trimmed and put in place:
To mark the curve for the next join, I decided it was easiest to extend the chalk of the mechanical pencil to a 1/4" length and this way I could use the edge of the mechanism as an easy guide. (1/4" is necessary to accommodate the 1/8" seam allowance for EACH side).
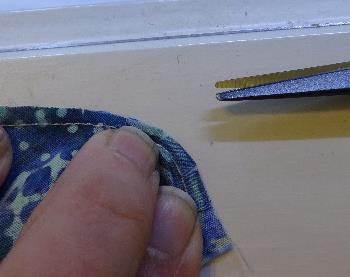
This was a deeper curve so I needed a little more manipulation when matching edges to sew. To get in close and maintain visibility, I use a curved end tailors awl with a very sharp point.
And we'll end this verse here: