


As I started to review the photos I took in succession while producing this quilt, I realized that some people are going to begin to think I am somewhat insane. If you are a quilter that loves rules, order, accuracy and repetition - just stop now. You're going to hate this. This is going to be some of that 'modern' orchestral music that doesn't fit your acquired sensibilities. Expect some changing *time signatures* and *dissonant notes* to use musical terms. The only rule is, in quoting my favorite Tim Gunn, "Make it work".
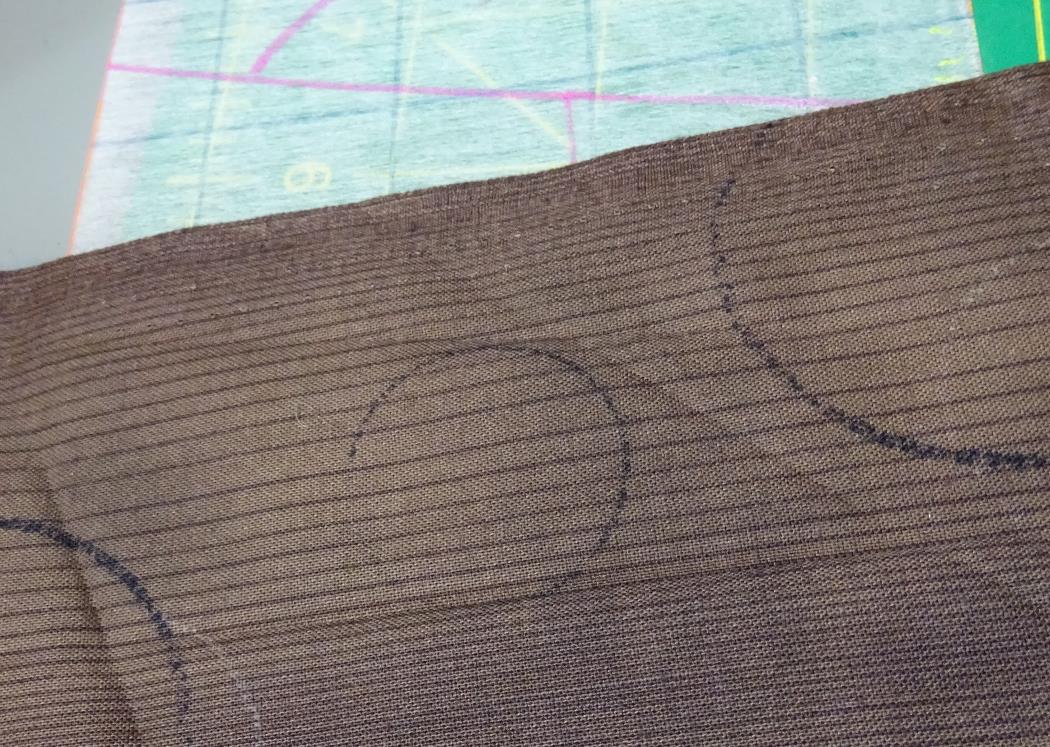
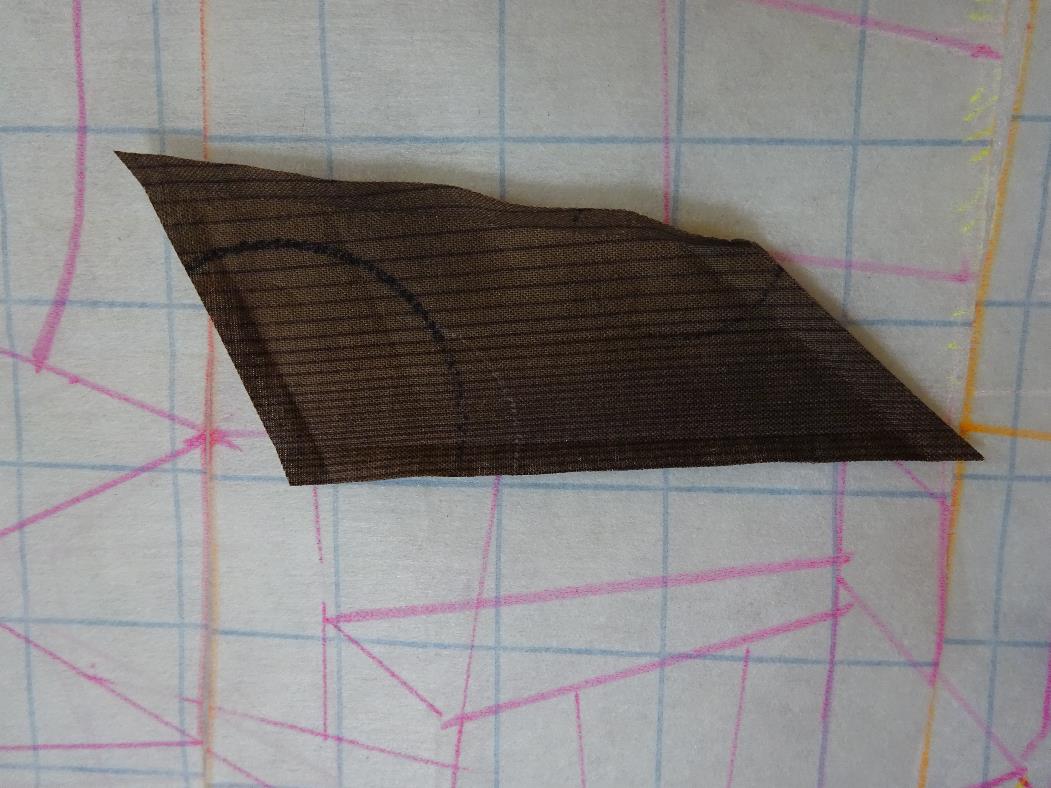
This first photo illustrates the very first piece of fabric that was marked with crease lines over the TruGrid template. In looking at the photo I realized this was actually one of those false starts. After I cut to size and stitched the first seam, I decided I should have started with a different piece in order for the puzzle to go together more easily. (On rare occasions, I've seen some acts decide to give it another quick start when they got off on the wrong note in concert too.) So, while this piece was not actually used in the end, it does show how the first 'fussy' cut piece was marked.
Fussy cutting refers to finding a specific part of the fabric and cutting to size around the print in order to capture that section. Instead of the typical strips and squares being cut without concern, where the print becomes randomized, fussy cutting is a deliberate choice.
There is a lot of fussy cutting in the quilt.
Essentially what I did here was line up the fabric with how I wanted it laid out, lifting the fabric to find my lines, folding on that line and giving a good crease with a manual press.
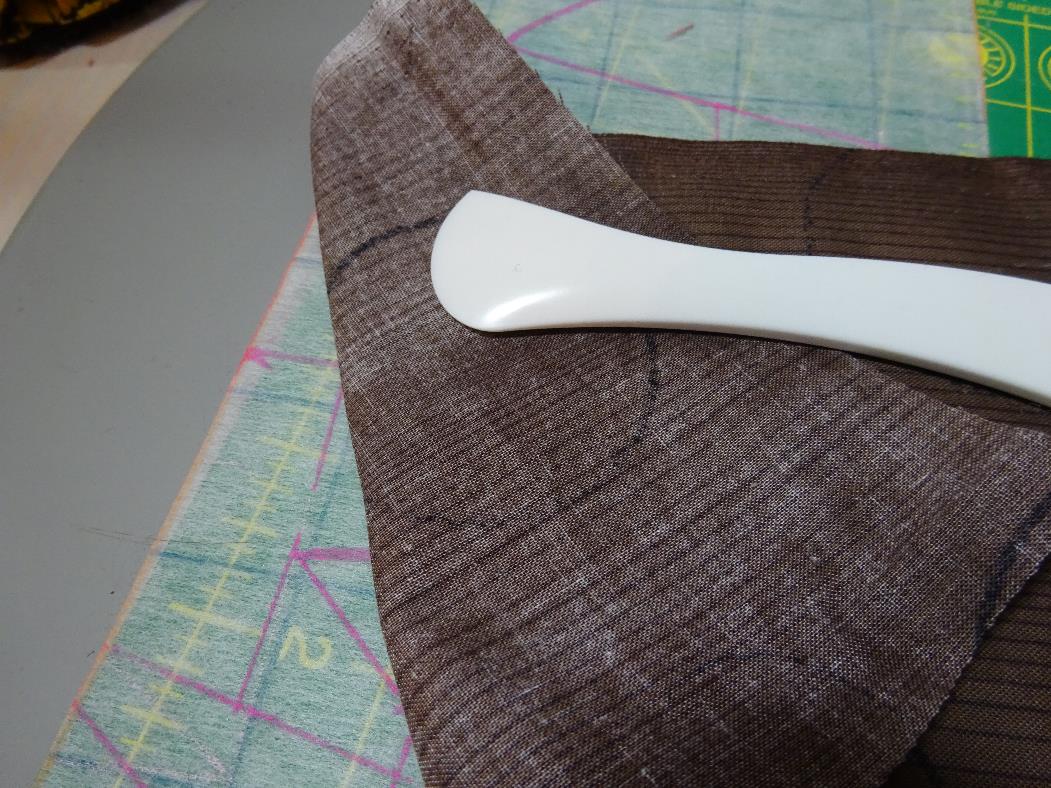
To cut the piece I lined up the quarter inch line on the ruler, placing it on the crease, and used a rotary cutter to trim.

If you have a hard time seeing the crease, another way to do this is to fold the fabric on the crease, line it up with any line on your mat, then flip it open to lay flat. Now you will line up your quarter inch on the ruler using the mat line as your reference.
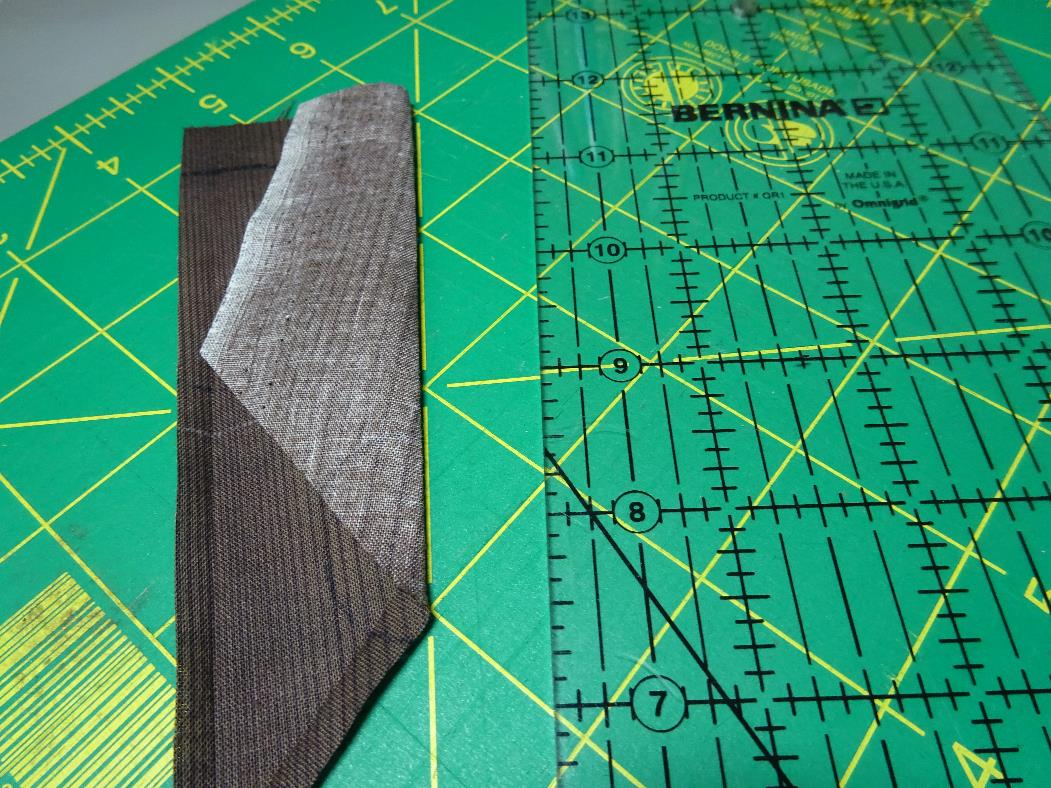
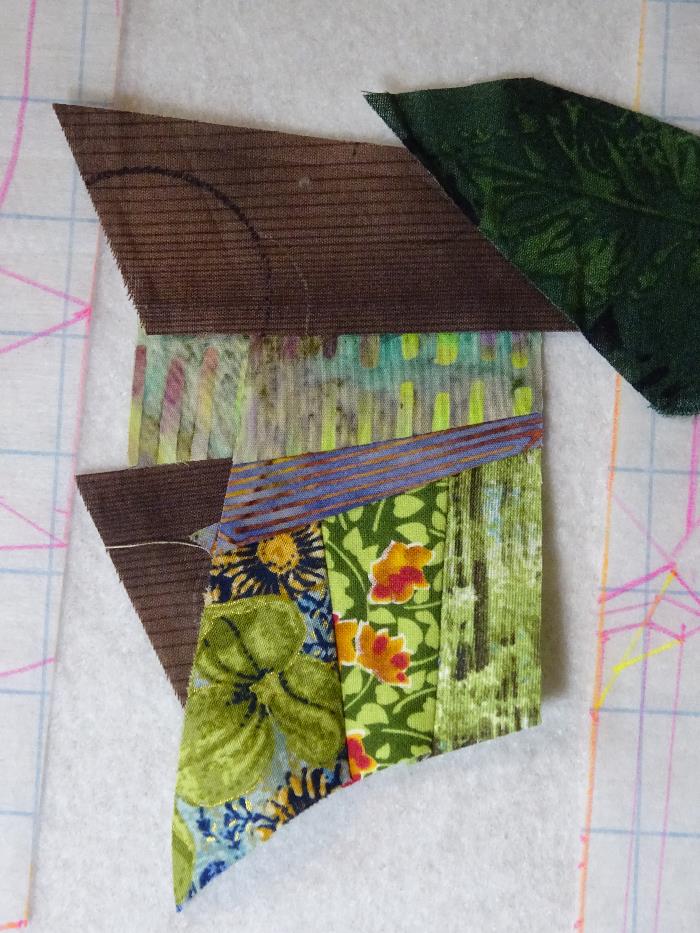
Here is the final piece, cut to size, laid on top of the TruGrid template:
[This is the roof of the small extension to the right (stage left) of the main Britt stage. Those who get seats in the front areas will know this as the closest bathroom, though there are only 2 private, any-sex, handicap accessible stalls here. Standing in line you will often be treated to overhearing backstage warm-ups and once - just last season - I ran into one of the special guest performers!]
Notice how the uneven lines, along with the large circle, help to define perspective. You can even compare it to the original scrapped piece (top photo), and see how much more effective it is at producing the perspective effect. The texture also resembles roof shingles without literally being shingles. This is an important takeaway. Try not to get trapped by the idea that bricks have to be made with 'brick' fabric, wood needs to be made with 'wood-grain' fabric, and so on. I'd say that is the primary mind-set that prevents anyone from visualizing creative (artistic) options.
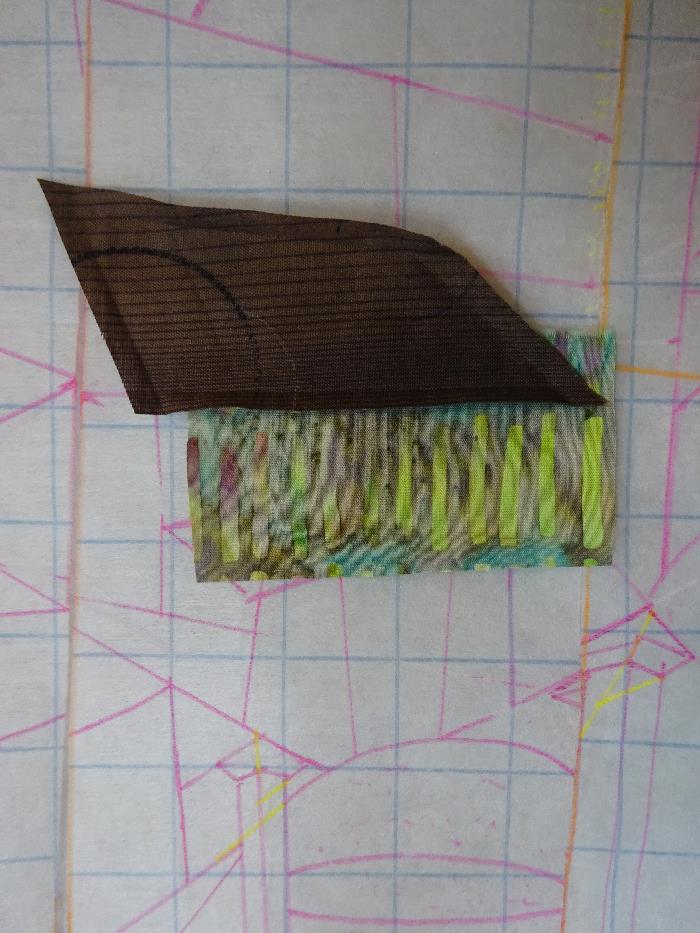
Here I've started to 'audition' the next piece. The stripes in this batik reminded me of the wood slat structure used throughout the Britt building, though they are green and blu-ish. Anyone that has been here knows that the overall building, as well as all the ancillary buildings, is basically brown. A big brown wood structure, done only in brown (wood-grain) fabric would be immensely flat and boring. This is where you have to start thinking in terms of *value*, the relationship of light and dark, and most importantly - the relationship to the piece it sits next to. Your favorite Impressionist paintings rely on this understanding of color; if you stare long enough at something, you will start to see that many colors make up what you would more easily designate as a single tone.
Color - it's hue, tone and value - is relative. I can not stress that strongly enough. How a color looks and the effect it will produce depends entirely on what it sits next to. This is where I get to remind quilters to always bring some swatches - if not full blocks - when searching for fabric. Unless you're just adding to your stash (a topic to be discussed later) you are wasting your time shopping without the actual project. A stat I remember vividly from art school is that accurate color memory - in the average human - is less than 20 seconds. (I confess I am not super-human.)
So here is the very first stitched seam. (Obviously it does not include the fussy cut roof.)
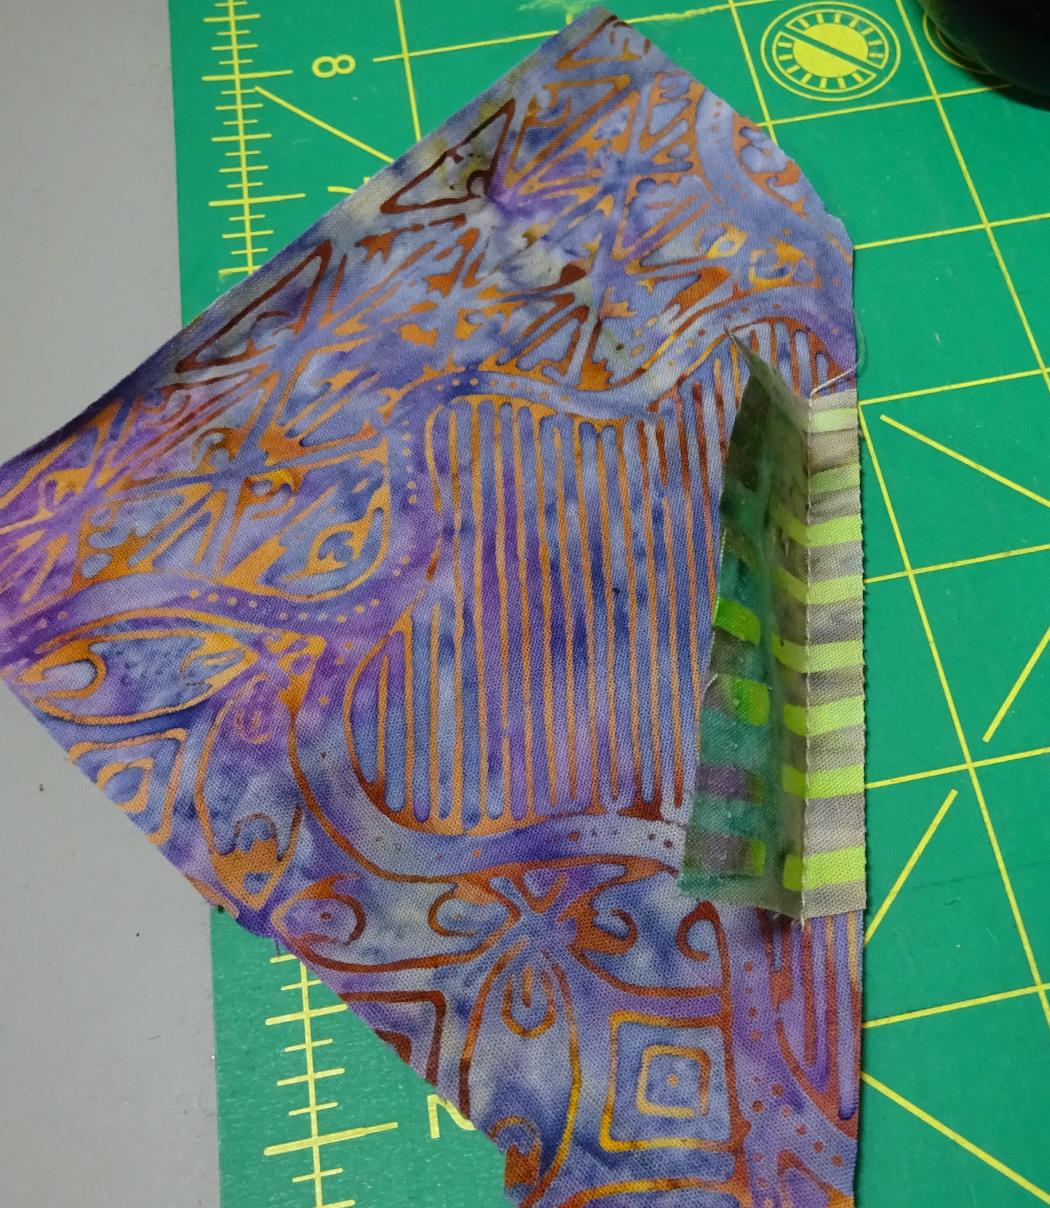
After deciding on the section that would become wall, I needed another roof. In my stash I found this ultraviolet and orange batik, once again with a section of tiny stripes that would work for shingles. In this scenario I didn't start with a template; I started by slicing a clean edge , using the direction of the linear element to determine the cut. Then I lined up the appropriate edge from the wall piece (which had been fussy cut and which you might notice is slightly different than the section first auditioned).
This was taken to the machine and using a 2.2mm stitch length (short enough for precision, long enough to tear out!) the first quarter inch seam was sewn. Below shows the finished seam once it was pressed.
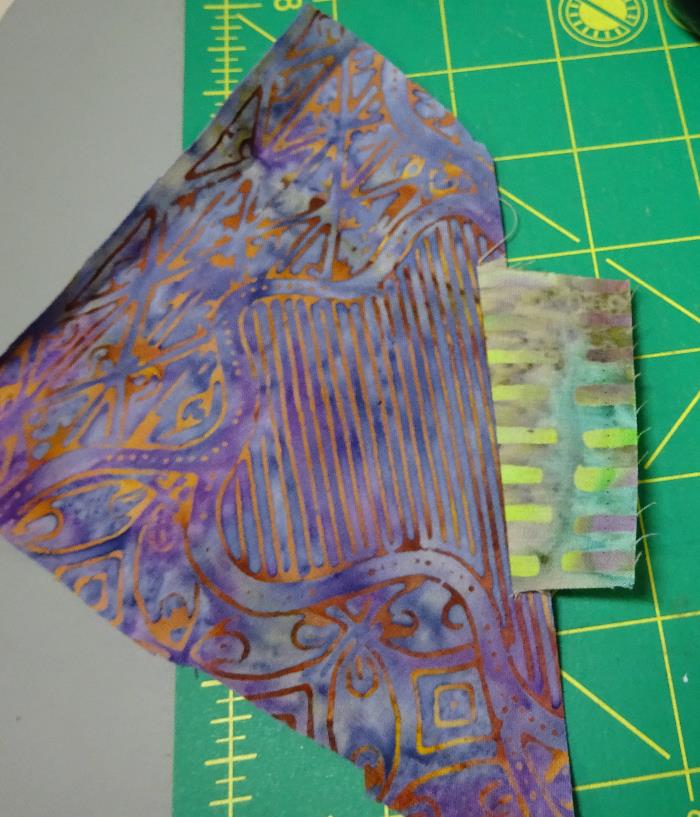
To trim this segment to size I used a technique I will have better photos to show later. After it was trimmed I put it aside (along with the roof) and started on the next segment - the most outward wall of this structure.
We have a ways to go - and I'm in need of a break - so I'll leave you with this photo that gives a taste of the performance ahead.